Table of Contents
Ready to sculpt a powerful chest without stepping foot in a gym? This comprehensive guide dives into the world of "chest workout at home with sliders," showing you how to transform your physique using this surprisingly versatile piece of equipment. Forget expensive gym memberships and crowded workout spaces; we'll unlock the secrets to building a strong, defined chest right in your living room. We'll start with the basics, guiding beginners through simple yet effective slider exercises, ensuring you master proper form and technique. Then, we'll progress to more advanced moves, pushing your limits and helping you build serious strength and power. Finally, we'll help you create a customized workout routine tailored to your fitness level and goals. Whether you're a complete newbie or a seasoned fitness enthusiast, this article provides the knowledge and inspiration you need to achieve your chest-building ambitions. Let's get started and build the chest you've always dreamed of!
Chest Workout at Home with Sliders: A Beginner's Guide
Chest Workout at Home with Sliders: A Beginner's Guide
Getting Started: What You'll Need
First things first, let's talk equipment. You don't need a fancy gym setup; all you need are sliders! These inexpensive workout tools are usually small, round discs that slide easily on smooth surfaces like hardwood floors or even carpet (if you use thicker sliders). You can find them online or at most sporting goods stores. Alternatively, you can improvise using hand towels on a smooth floor. That’s it! No weights, no machines – just your bodyweight and a little ingenuity. Trust me, sliders are a game-changer for a home chest workout!
Remember, consistency is key. Don't try to do too much too soon. Start slowly, focus on proper form, and gradually increase the number of repetitions and sets as you get stronger. Listen to your body; rest when you need to. This isn't a race; it's a journey to a stronger, more sculpted you. It's about building a sustainable fitness habit, not just a quick fix.
Equipment | Alternatives |
|---|---|
Sliders (plastic or fabric) | Hand towels on a smooth surface |
Comfortable workout space | N/A |
Workout mat (optional) | N/A |
Basic Slider Chest Exercises
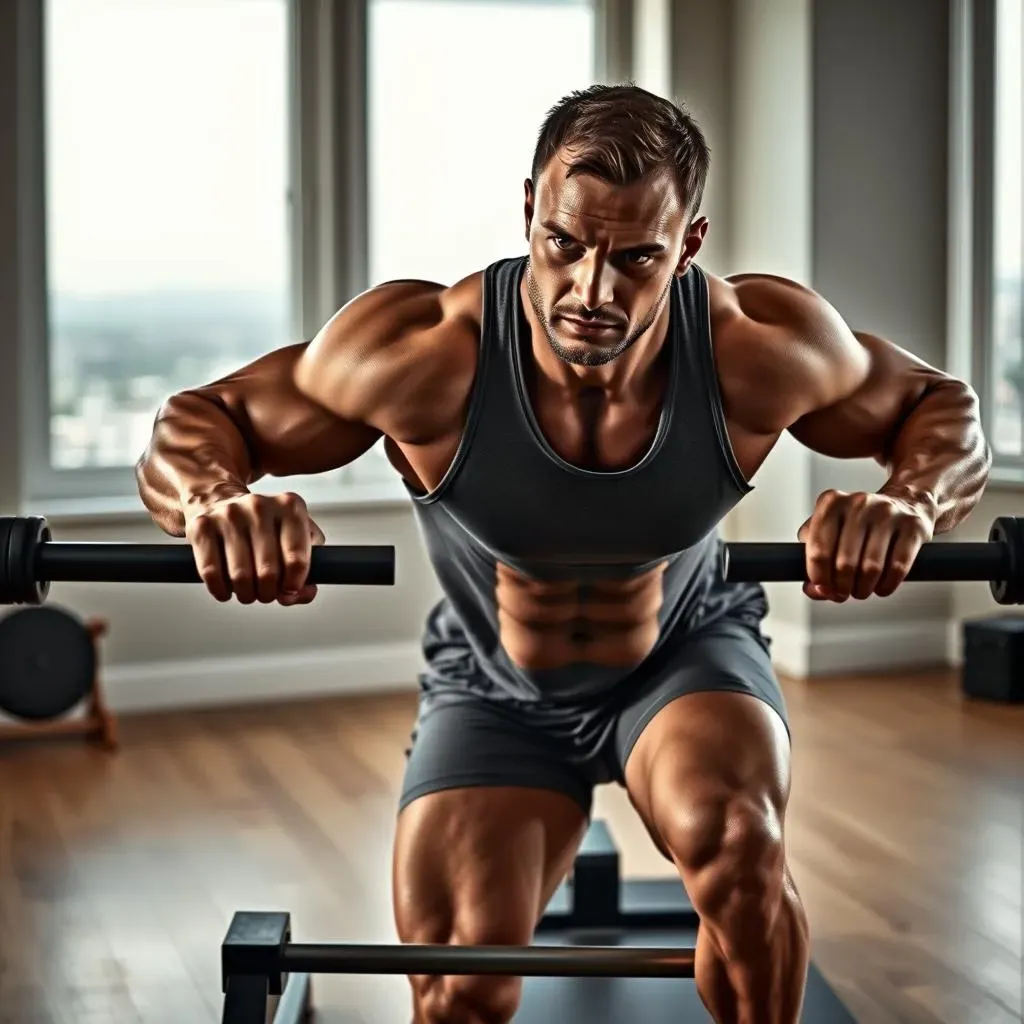
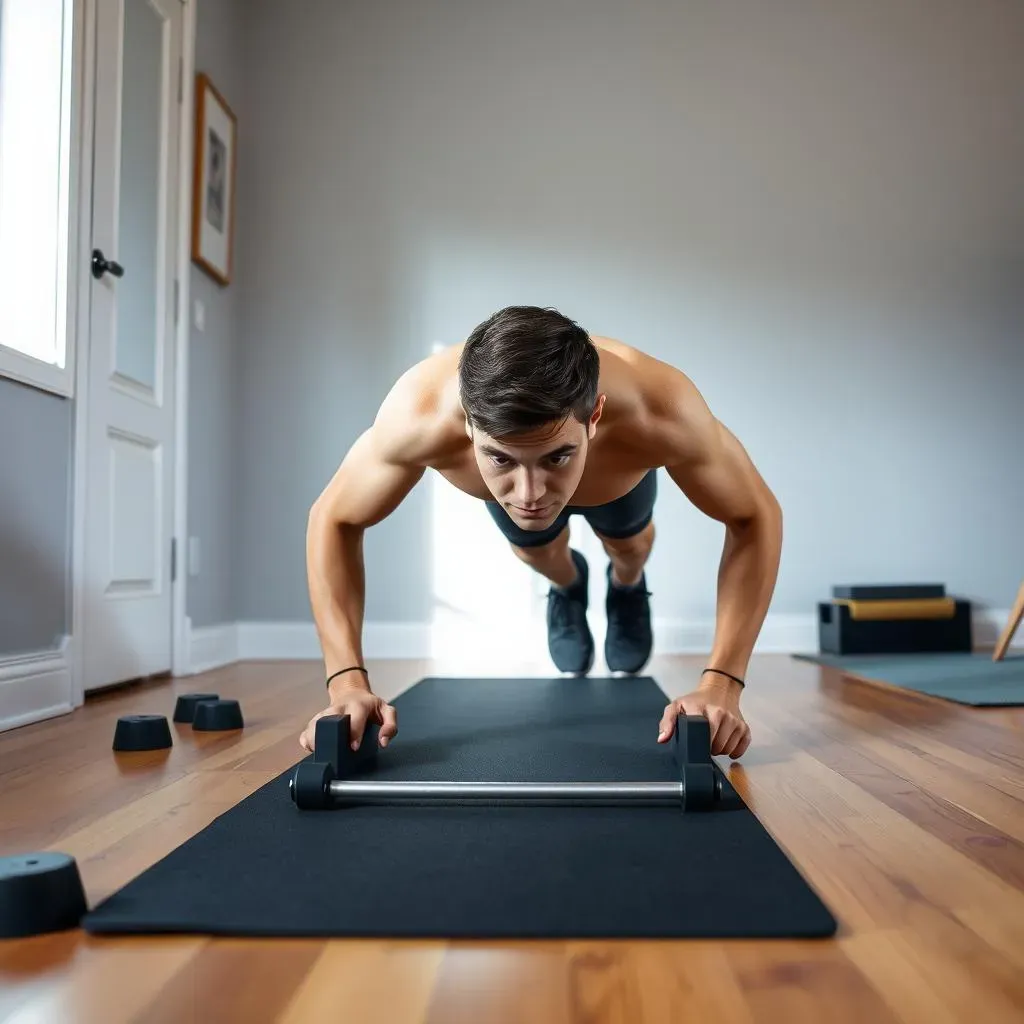
Let's start with a couple of foundational exercises that'll build a solid base for your chest workouts. The first is the slider push-up. Start in a standard push-up position, but place your hands on the sliders. As you lower yourself, slide your hands out to the sides, engaging your chest muscles. Push back to the starting position. This variation adds an extra challenge to the classic push-up, targeting your chest muscles more intensely. Try 3 sets of 8-12 repetitions.
Another excellent exercise is the slider chest fly. Lie on your back with your feet flat on the floor. Hold a slider in each hand, arms extended to the sides. Slowly slide your arms out, keeping a slight bend in your elbows and maintaining contact with the floor. Squeeze your chest muscles as you bring your arms back to the starting position. This exercise really isolates your pecs, giving them a fantastic workout. Aim for 3 sets of 10-15 repetitions. Remember to breathe deeply throughout the exercise.
- Slider Push-ups: 3 sets of 8-12 reps
- Slider Chest Flies: 3 sets of 10-15 reps
Safety and Proper Form
Before you jump into your chest workout, let's talk about safety. Always maintain good posture. Keep your core engaged throughout each exercise to protect your back and maximize your results. If you feel any sharp pain, stop immediately and consult a healthcare professional. Start with fewer repetitions if needed, and gradually increase the intensity as your body adapts. This is crucial for avoiding injuries and ensuring a safe and effective workout.
Remember, consistency trumps intensity. It's better to perform fewer reps with perfect form than many reps with sloppy form. Focus on feeling the muscles working; you should feel a burn in your chest during each exercise. If you're not feeling it, adjust your form or try a different variation. Consider filming yourself to check your form. This may feel a little silly, but it's a great way to spot any subtle issues you might otherwise miss!
Mastering Slider Chest Exercises: Technique and Variations
Mastering Slider Chest Exercises: Technique and Variations
Refining Your Slider Push-Up
Let's take our slider push-up to the next level. The key here is controlled movement. Don't just fling your hands out; focus on a slow, deliberate slide, feeling the tension in your chest as you lower yourself. Pause briefly at the bottom, squeezing your chest muscles, before pushing back up. To increase the difficulty, try a wider hand placement, which will place more emphasis on your outer chest muscles. You can also elevate your feet by placing them on a chair or bench, making the exercise even more challenging. This will work your entire chest effectively.
Remember, quality over quantity! It's far better to perform 8 perfect reps than 20 sloppy ones. Focus on the feeling in your chest muscles; that's how you know you're doing it right. If you're struggling to maintain proper form, reduce the number of repetitions or take a break. Listen to your body; it will tell you what it needs.
Variation | Focus | Difficulty |
|---|---|---|
Standard Slider Push-up | Overall chest | Beginner |
Wide-Grip Slider Push-up | Outer chest | Intermediate |
Elevated Feet Slider Push-up | Entire chest | Advanced |
Exploring Slider Chest Fly Variations
The slider chest fly is a fantastic exercise for isolating your pectoral muscles. To make it more challenging, try adding a pause at the end of each repetition, holding the stretched position for a couple of seconds. This increases time under tension, leading to greater muscle growth. Another variation is to perform the exercise on an incline. Simply elevate your upper body by using a bench or a stack of books. This shifts the focus towards the upper chest muscles, creating a more complete chest workout.
Don't be afraid to experiment! Try different variations to find what works best for you. The beauty of calisthenics is its adaptability. You can modify exercises to target specific muscle groups and increase the intensity as you get stronger. Remember, consistency is key. Keep practicing, and you'll see amazing results.
- Pause at the bottom of each repetition
- Incline Slider Chest Flies (elevate your upper body)
- Slow, controlled movements for maximum effectiveness
Putting It All Together: A Sample Routine
Now that you've mastered the basic techniques and variations, let's create a sample workout routine. Remember to warm up before starting your workout and cool down afterwards. A simple warm-up could include some light cardio, like jumping jacks or arm circles, followed by dynamic stretches. Your cool-down should include static stretches, holding each stretch for at least 30 seconds. This will help prevent muscle soreness and improve flexibility.
This routine focuses on building a solid foundation of strength and endurance. As you progress, you can adjust the number of sets, reps, and variations to challenge yourself further. Remember to listen to your body and adjust the routine as needed. Consistency and proper form are far more important than pushing yourself too hard too soon. Celebrate your progress, and enjoy the journey!
Advanced Chest Workout at Home with Sliders: Building Strength and Power
Advanced Chest Workout at Home with Sliders: Building Strength and Power
Taking Your Slider Push-Ups to the Next Level
Once you've mastered the basic slider push-up, it's time to ramp up the intensity. Think plyometrics! Incorporate explosive movements into your push-ups by adding a jump at the top of each repetition. This adds a powerful element that significantly increases muscle engagement and builds explosive strength. Another fantastic progression is the decline slider push-up. Elevate your feet onto a sturdy surface, like a bench or chair. This shifts the focus to the upper chest, challenging your muscles in a new way. Remember to maintain proper form to avoid injury; a slow, controlled descent and a powerful upward push are key.
Don't underestimate the power of small changes. Even subtle adjustments to your form or the execution of the exercise can dramatically increase the challenge. Try focusing on a slower eccentric (lowering) phase of the movement, increasing the time under tension and amplifying muscle growth. You can also incorporate isometric holds at the bottom of the push-up, further engaging your chest muscles. The key is to constantly challenge your muscles, pushing them beyond their comfort zone for optimal results.
Variation | Description | Difficulty |
|---|---|---|
Plyometric Slider Push-up | Explosive jump at the top of each rep | Advanced |
Decline Slider Push-up | Elevated feet for increased upper chest activation | Advanced |
Slow Eccentric Slider Push-up | Controlled lowering phase for increased time under tension | Intermediate/Advanced |
Advanced Slider Chest Fly Variations
Let's elevate your slider chest fly game. One way to increase the challenge is to add resistance bands. Loop a resistance band around your feet and hold the handles in your hands. This adds an extra layer of resistance, making the exercise more demanding and promoting greater muscle growth. Another great progression is the single-arm slider chest fly. This variation requires more stability and control, engaging your core muscles more significantly and further isolating your chest. Focus on maintaining a controlled movement throughout each repetition, avoiding any jerky or uncontrolled motions.
Remember, the goal isn't just to complete the reps; it's to feel the burn in your chest muscles. If you're not feeling the muscles working, adjust your form or try a different variation. The key is to constantly experiment and find what works best for you. The beauty of calisthenics lies in its adaptability; you can always modify exercises to target specific muscle groups and increase the intensity as you progress. Consistency and proper form will always trump intensity, so prioritize quality over quantity.
- Resistance Band Slider Chest Fly
- Single-Arm Slider Chest Fly
- Incorporate isometric holds at the end of each repetition
Creating Your Personalized Chest Workout at Home with Sliders Routine

Creating Your Personalized Chest Workout at Home with Sliders Routine
Designing Your Personalized Slider Chest Workout
So, you've mastered the moves. Now, let's craft a chest workout routine that's uniquely yours. Think of it like building with LEGOs – you have a bunch of awesome bricks (exercises), and now you get to create something amazing. Start by choosing 2-3 slider chest exercises from what we've covered. Mix and match! Don't be afraid to experiment. Maybe one day you focus on push-ups, another day on chest flies, and another on a combination. Variety keeps things interesting and challenges your muscles in different ways.
Next, decide on your sets and reps. For beginners, 2-3 sets of 8-12 repetitions for each exercise is a great starting point. As you get stronger, increase the number of sets or reps. Remember, proper form is key! It's far better to do fewer reps with perfect form than many reps with sloppy form. Listen to your body; if you feel pain, stop. Rest is crucial for muscle recovery and growth. Don't push yourself too hard, too fast.
Workout Day | Exercise 1 | Sets/Reps | Exercise 2 | Sets/Reps |
|---|---|---|---|---|
Monday | Slider Push-ups | 3 sets of 10 reps | Slider Chest Flies | 3 sets of 15 reps |
Wednesday | Decline Slider Push-ups | 2 sets of 8 reps | Resistance Band Slider Chest Flies | 2 sets of 12 reps |
Friday | Plyometric Slider Push-ups | 3 sets of 8 reps | Single-Arm Slider Chest Flies (each arm) | 3 sets of 10 reps (each arm) |
Workout Frequency and Progression
How often should you work out your chest? A good starting point is 2-3 times per week, allowing at least one day of rest between workouts. This gives your muscles time to recover and rebuild stronger. As you get fitter, you may increase the frequency, but always prioritize proper rest to avoid overtraining. Overtraining can lead to injuries and hinder your progress. Remember, consistency is more important than intensity. It's better to maintain a consistent workout schedule than to push yourself too hard and then burn out.
Over time, you'll find yourself getting stronger and needing more of a challenge. That's where progression comes in. You can gradually increase the difficulty of your exercises by adding more sets, reps, or variations. You can also incorporate more advanced techniques, such as plyometrics or isometric holds, to push your muscles further. The key is to keep challenging your body to stimulate growth and avoid plateaus. Don't be afraid to experiment and find what works best for you.
- Start with 2-3 workouts per week
- Allow at least one rest day between workouts
- Gradually increase sets, reps, or exercise difficulty as you get stronger
- Listen to your body and adjust your routine as needed