Table of Contents
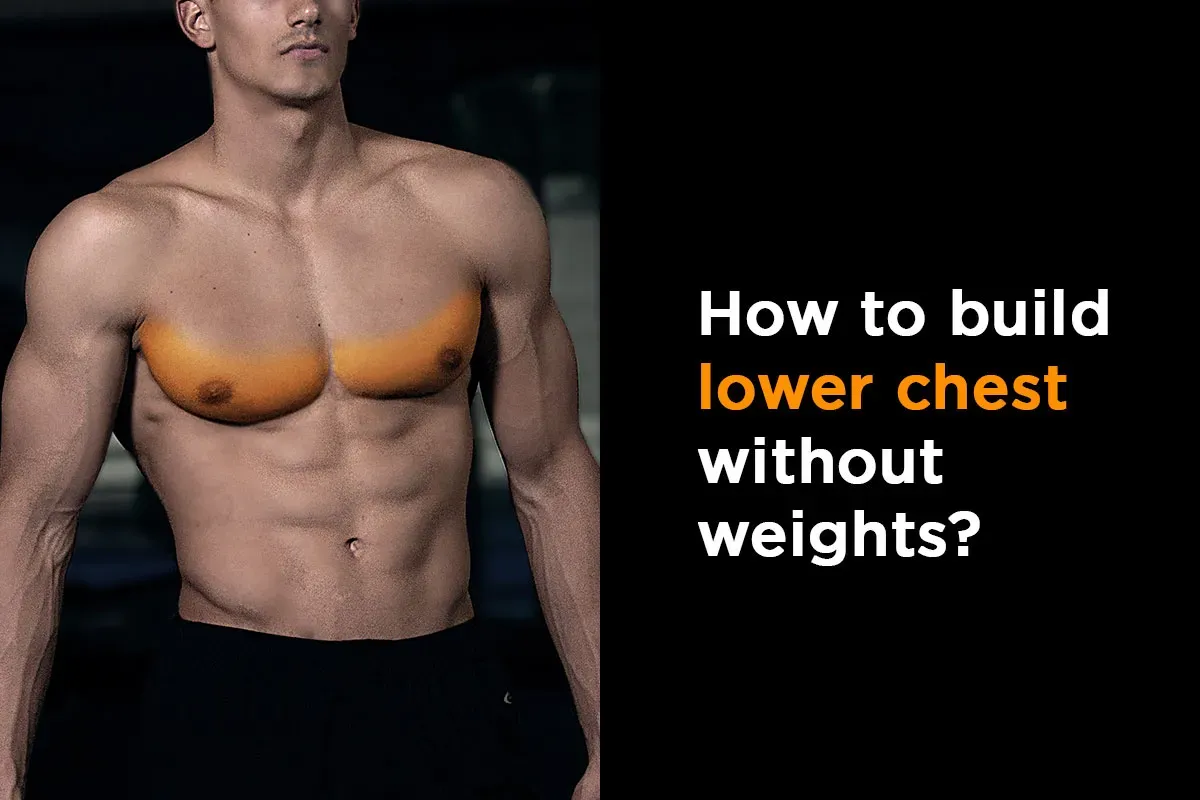
Thinking you need a gym packed with heavy weights and fancy benches to carve out that defined lower chest? Think again. Most people overlook this crucial part of their pecs, leaving a noticeable gap in their physique. Maybe you're short on time, don't have access to equipment, or just prefer the convenience of training where you are. Whatever the reason, building a strong, well-developed lower chest is absolutely achievable right from your living room floor. Forget the excuses; we're here to show you exactly how to get a killer lower chest workout at home no equipment needed. This isn't about endless, random push-ups. It's about smart movement, understanding how your muscles work, and applying proven bodyweight techniques. We'll dive into why the lower chest matters, how to target those fibers effectively using just your body, break down the best exercises, and help you build a routine that delivers results. Ready to ditch the weights and sculpt your chest?
Why Your Lower Chest Needs Attention (Even at Home)
Why Your Lower Chest Needs Attention (Even at Home)
The Forgotten Muscle Fibers
Let's be honest, when most people think about building their chest, they picture that upper pec shelf or the broad sweep across the middle. The lower chest, that part that gives your pecs that defined, almost "cut" look towards your abs, often gets left out in the cold. It's like the bass player in a band – essential for the overall structure but rarely gets the spotlight. This neglect isn't just an aesthetic issue; it means you're not hitting the pectoralis major muscle group completely. Ignoring the lower fibers, also known as the sternal head, means you're leaving potential size, strength, and definition on the table, even when you're focused on a lower chest workout at home no equipment.
More Than Just Aesthetics
Developing your lower chest isn't just about filling out a t-shirt. Stronger lower pec fibers contribute to overall pushing power and stability in movements ranging from push-ups to overhead presses. Think of it as the foundation for a powerful upper body. A well-rounded chest contributes to better posture and can even help prevent imbalances that lead to shoulder issues down the line. If you're serious about building a functional, strong physique using just your bodyweight, ensuring your lower chest gets targeted attention during your lower chest workout at home no equipment is non-negotiable.
- A balanced chest looks better.
- Stronger lower pecs improve overall pressing power.
- Targeting this area helps prevent muscular imbalances.
- It contributes to a more complete physique.
Understanding Lower Chest Activation Without Weights
Understanding Lower Chest Activation Without Weights
It's All About the Angle, Baby
so you're stuck at home, no decline bench in sight. How do you hit that lower chest? It's not magic; it's physics and anatomy. Think about the muscle fibers in your lower pec. They run downwards and outwards towards your arm. To work them effectively, you need to move your arm in a direction that shortens those specific fibers against resistance. When you're using weights, this is easy – you lie on a decline bench press and push up. Without weights, you have to create that same effect by changing your body's angle relative to gravity. Gravity is your resistance here, and your body is the weight. The trick is positioning yourself so that the *hardest part* of the movement, the peak contraction, aligns with the path those lower fibers want to travel.
Gravity: Your Home Gym Partner
Since you don't have iron plates, gravity is your best friend for a lower chest workout at home no equipment. How do you make gravity target your lower chest? By putting your body in a decline position. This means your head is lower than your hips or feet. Think about a standard push-up. Your body is mostly parallel to the ground, hitting the mid-pecs effectively. To shift the focus lower, you need to angle your torso downwards. Elevating your hands puts your body in an incline, hitting the upper chest. Elevating your feet puts your body in a decline, forcing those lower chest fibers to work harder against gravity's pull. It's a simple switch that makes a world of difference.
Here's the basic idea:
- Hands elevated = Upper chest focus (Incline)
- Body parallel = Mid chest focus (Flat)
- Feet elevated = Lower chest focus (Decline)
Applying the Principle: Creating Decline
So, how do you get your feet higher than your hands at home? Look around! You probably have everything you need. A sturdy chair, a coffee table, the edge of your sofa, or even a stack of books can serve as your elevation. The higher the elevation, the steeper the decline, and generally, the more challenging the exercise becomes for the lower chest. Start with a modest elevation and work your way up as you get stronger. Remember, proper form is key. Don't sacrifice control and range of motion for height. Your shoulders and elbows should be happy campers throughout the movement. Finding the right height for your current strength level is crucial for an effective lower chest workout at home no equipment.
Household Item | Potential Use | Notes |
|---|---|---|
Sturdy Chair | Elevate feet for decline push-ups | Check stability before use. |
Coffee Table | Elevate feet for decline push-ups | Ensure it won't slide. |
Edge of Sofa/Bed | Elevate feet for decline push-ups | Might be too soft for some. |
Stack of Books | Slight elevation for feet | Use sturdy, heavy books. |
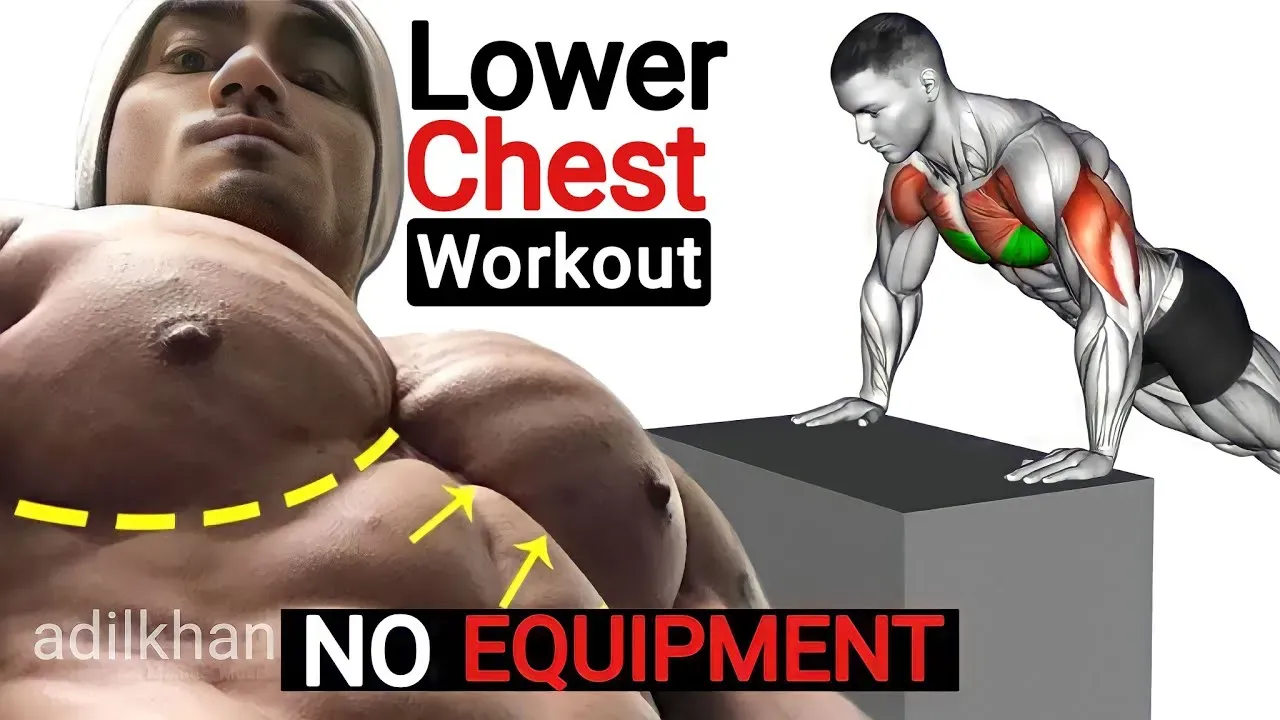
Essential Exercises for a Lower Chest Workout at Home No Equipment
Decline Push-Ups: The Cornerstone
Alright, let's get down to brass tacks. If you're serious about a lower chest workout at home no equipment, the decline push-up is your bread and butter. It's the closest bodyweight equivalent to a decline bench press. By elevating your feet, you shift more of your body weight onto your hands and change the angle of resistance, forcing those lower pec fibers to fire harder. Think of it as pushing *down* and *forward* relative to your body's angle. Find that sturdy chair or coffee table we talked about. Get into a push-up position with your hands on the floor, shoulder-width apart, and your feet elevated. Keep your body in a straight line from head to heels. Lower yourself down slowly, keeping your elbows tucked slightly (not flared out), until your chest is close to the floor, then push back up powerfully. Don't let your hips sag or pike up. Control is key.
Pseudo Planche Push-Ups: Leaning In
Here’s a slightly different animal for your lower chest workout at home no equipment: the pseudo planche push-up. This one targets the chest as a whole, but with a significant emphasis on the lower and outer portions. Instead of having your hands directly under your shoulders, you place them lower down your torso, closer to your waist or hips, and lean your body weight forward over your hands. The further back your hands are relative to your shoulders, the harder it gets and the more the leverage shifts. This requires serious core strength and shoulder stability, but it’s incredibly effective for building dense muscle fiber, especially in the lower chest region. Start with a small lean and hands just below shoulder level, then gradually move your hands further back as you gain strength.
Key cues for Pseudo Planche Push-ups:
- Hands placed lower than shoulders, fingers potentially pointing slightly back.
- Lean your torso forward significantly over your hands.
- Maintain a rigid body line.
- Lower slowly, feeling the tension in your chest and shoulders.
- Push back up powerfully, maintaining the forward lean.
Dips (Using Sturdy Furniture)
If you've got two sturdy chairs, kitchen counters, or parallel bars (even makeshift ones) you can safely use, dips are fantastic for hitting the lower chest. This exercise uses your full body weight and, when done correctly, puts a significant load on the lower pec fibers. Position yourself between two elevated surfaces you can grip. Lower your body by bending your elbows, leaning slightly forward. This forward lean is crucial – it shifts the emphasis from the triceps to the lower chest. Go down until you feel a good stretch in your chest, then push back up. If full dips are too tough, you can use a chair to support your feet and make it easier, gradually reducing the assistance. Finding stable support is non-negotiable here; you don't want a trip to the emergency room derailing your lower chest workout at home no equipment.
Building Your Complete Lower Chest Workout at Home No Equipment Routine
Building Your Complete Lower Chest Workout at Home No Equipment Routine
Structuring Your Weekly Attack Plan
Alright, you've got the tools (your body and some furniture) and you understand the angle game. Now, how do you put it all together into a routine that actually builds muscle? Consistency is king, but so is smart programming. You can't just do decline push-ups until you collapse every day. Your muscles need time to recover and grow. For most people, hitting the chest two or three times a week is a solid starting point. This allows for adequate recovery between sessions. On training days, you'll want to focus on hitting those lower fibers effectively. Think quality over quantity. Don't just grind out sloppy reps; focus on feeling the muscle work through the full range of motion. A typical session might involve 2-4 exercises targeting the chest, with a couple specifically hammering the lower portion. Integrating your lower chest workout at home no equipment into your overall weekly plan is step one.
Selecting Exercises and Setting Rep Ranges
Choosing the right exercises for your lower chest workout at home no equipment depends on your current strength level. If decline push-ups from a chair are too hard, start with a lower elevation, like a stack of books, or even do them from your knees on an incline before progressing to your feet. If they're too easy, increase the elevation or move to more challenging variations like pseudo planche push-ups. Aim for a rep range that challenges you, typically between 8-15 reps per set for muscle growth. Once you can comfortably do more than 15 clean reps, it's time to make the exercise harder – increase the elevation, try a more advanced variation, or slow down the tempo of your reps to increase time under tension. Doing 3-4 sets per exercise is a standard approach. Listen to your body; if something feels wrong, stop. Pushing through sharp pain is stupid, not tough.
Exercise | Progression Option | Regression Option |
|---|---|---|
Decline Push-Up | Increase foot elevation | Decrease foot elevation, perform from knees on incline |
Pseudo Planche Push-Up | Move hands further back, increase forward lean | Move hands closer to shoulder level, decrease forward lean |
Dips (if possible) | Perform unassisted | Use chair to support feet, reduce forward lean |
Progressing Your Lower Chest Workout at Home No Equipment
Progressing Your Lower Chest Workout at Home No Equipment
Making Decline Push-Ups Harder
So, you've mastered decline push-ups with your feet on a chair, banging out sets of 15 or more without breaking much of a sweat. That's awesome! But to keep building that lower chest with your lower chest workout at home no equipment, you can't just do the same thing forever. Your body adapts. The most straightforward way to progress decline push-ups is to increase the elevation of your feet. Got a higher stack of books? A taller piece of furniture? Use it. A steeper angle means more of your body weight is pressing down, making each rep significantly harder. You can also try single-leg decline push-ups, which adds an element of instability and increases the load on the working side. Don't jump straight to the highest point; gradually increase the height as your strength allows. Think of it like climbing a ladder, one rung at a time.
Adding Complexity and Volume
Beyond just increasing elevation, you can introduce more challenging exercise variations into your lower chest workout at home no equipment. Those pseudo planche push-ups we talked about? Start working on leaning further forward or bringing your hands slightly closer together. If you have a sturdy surface for dips, work towards doing more unassisted reps or even adding a slight pause at the bottom. Volume is another lever you can pull. Instead of just three sets of an exercise, maybe try four or five. You can also play with rep ranges; sometimes doing sets of 8-10 with a harder variation is more effective than 15+ easy reps. Manipulating tempo – slowing down the lowering phase (eccentric) or pausing at the bottom – also increases time under tension and muscle stimulus without needing extra weight. Variety keeps things interesting and prevents plateaus.
- Increase sets (e.g., from 3 to 4).
- Slow down the eccentric (lowering) phase.
- Pause briefly at the bottom of the movement.
- Reduce rest time between sets slightly.
- Combine variations within a single workout.
The Long Game: Consistency and Listening
Building muscle, especially a stubborn area like the lower chest, isn't a sprint; it's a marathon. Consistency in your lower chest workout at home no equipment is far more important than hitting one heroic, soul-crushing session every few weeks. Aim for regular, focused training sessions. Pay attention to how your body feels. Are you recovering? Is there persistent pain (different from muscle soreness)? Pushing through intelligent fatigue builds muscle; pushing through injury just sidelines you. Record your workouts – what exercises you did, the elevation used, how many reps and sets. This helps you see progress, identify what's working, and plan future sessions. Don't get discouraged if progress seems slow sometimes; plateaus happen. Adjust your approach, maybe take a deload week, and come back stronger. The satisfaction comes from the sustained effort and gradual changes.
Finishing Strong: Building Your Lower Chest at Home
So, there you have it. Building a noticeable lower chest doesn't require a gym membership or a pile of iron. By understanding how to angle your body and modify basic movements like push-ups and dips, you can effectively target those lower fibers using nothing but your own bodyweight. Consistency is key here; showing up and putting in the work, even if it's just a few focused sessions a week, will yield far better results than sporadic bursts of effort. It takes time, and you won't transform overnight, but sticking with a smart, bodyweight-focused lower chest workout at home no equipment will get you closer to a more balanced and stronger chest.